Wednesday 15 August 2018

Blended Seasons Bundle

Have you seen anything made with this special release bundle yet?  It's available for the month of August ONLY.  It's a great bundle, I think the framelits are my favourites - they're more stitched shapes!

Without further ado, let's look at some gorgeous samples that I took from Pinterest.


From Stampin’ Up!® files


Courtenay Heuston


From Stampin’ Up!® files

This bundle is so versatile, you can make cards for almost any occasion. I'm loving the autumn leaves, but there are stamps that also work for Christmas, and 'Just Because' cards.

You know, as a demonstrator I was able to order this bundle during July, and I can currently order items from the new Holidays Catalogue which goes live on 5 September.  This is one of the many benefits of being a demonstrator - the 20% off all products purchased over the three months after you join isn't bad either!

If you live in New Zealand, I'd love to have you join my team of Absolutely Awesome Crafters!  To learn more, please click on 'Join My Team' above, or email me here

Take care, and I hope you have a really good Thursday!


SHARE:

Thursday 9 August 2018

It's a statement from my heart

A statement from my heart indeed - this is the card I'm making to send to my three new team members!  Stampin’ Up!®'s Statement of the Heart is a gorgeous vision statement, and I want to share this with my newest team members.


This was a fiddly card to make, but not a difficult one.  The frame of flowers is from the gorgeous Petal Promenade Designer Series Paper - all I had to do was cut out a frame.  Next I stamped my Statement of the Heart stamp on in Tranquil Tide ink.

The layers of Tranquil Tide and Whisper White are standard New Zealand sizes.  The tricky part was the part that doesn't show up so well in a photo.

If you look carefully, you can see around the outside of the Designer Series Paper that there is a line of glitter, or shimmer.  What I did was I took the Metal Edged ribbon in Whisper White, and adhered it to the back of the paper so that just the metal edge was showing.  It looks amazing in real life!  I found it fiddly getting the corners neat!  I don't have any great shortcuts or tips on how to do this - I just kept doing it until it looked right.

Would you like to purchase one of the items I used to make this card?  The Statement of the Heart stamp set is retired I'm afraid, but the rest you can buy. If you click on any of the photos below, you'll go to my online store - any day, any time!

I hope you enjoyed today's project - let me know if you give it a go!

Product List
SHARE:

Sunday 5 August 2018

Animal Outing has another outing!

I am in love with this cute rhino!  He is just beautiful, and my children love him too! I think Stampin’ Up!® have outdone themselves with this one.

Today's card is a clean and simple card, using very few ingredients, and it makes a lovely card.


The wee bird perching on his tusk - looks like he's having a chat (probably more likely to be getting ready to eat a tick off the rhino, but we won't go there).  With the sentiment, this makes a gorgeous card to give a friend.

I've used Smoky Slate, Crushed Curry and Whisper White cardstock.  I've stamped in Memento ink, and I've coloured with Blends.  I've also used the stamp set Around The Corner for the corner decorations.

That's it for tonight - short and sweet (a bit like me really!).  I'm actually not all that short, but I thought it sounded good!

If you live in New Zealand, and would like to purchase any of the Stampin’ Up!® products I've used to make this card, please click on the pictures below, and you'll go straight to my online store, where you can shop to your hearts content!

Product List
SHARE:

Sunday 8 July 2018

My new favourite colour

Hello! Thank you for stopping by.

I'm still relatively new to Stampin' Up!, so the returning colours (apart from Flirty Flamingo) are all brand new to me.  I've completely fallen in love with Blackberry Bliss!  This is going to be the first full card I order (I've ordered all the colours in each of the families, the ones where you get the Subtles, and you get two of each colour).  I'm going to need way more than 2 sheets of Blackberry Bliss though!

This card is a mix of many cards I've seen all over the place, so I can't give credit to any one person.  


I find it quite difficult to photograph the Tufted Embossing Folder, however you can see it in the background here.

You may remember I said in a blog a while ago that I really needed this Painted Glass stamp set for the lovely sentiments, and these butterflies.  So I bought it, along with the Stained Glass framelits.

I coloured the Graceful Glass velum with my Blends pens - Old Olive and Rich Razzleberry.  I then sponged tombow glue onto Whisper White cardstock, and adhered the Velum to it.

After colouring the butterflies I adhered them to the card with dimensionals, and placed two clear rhinestones on the body.

I stamped the sentiment in Memento Black, and coloured the 'B' in just because I could!  The sentiment was cut out with the Banner Triple Punch, and also adhered to the card with dimensionals.

Put it all together, and that's what you've got!

If you live in New Zealand and would like to purchase any of the products I've used to make this card, please click on the pictures below, and you'll go straight to my online store.

It's Sunday evening at the moment here in New Zealand, so I hope your week starts well!

Take care,
Andrea

Product List
SHARE:

Monday 2 July 2018

Natures Poem on a Pyramid Card

I'm not terribly confident with fancy fold cards, but my very talented friend Lyn showed me this one and I thought even I could do it!  Of course, I did some learning along the way, which I will share with you.  The original pattern is from Splitcoaststampers.


The next picture will show you what it looks like open, and you can write on the white pieces.  The rest of the card is covered in Natures Poem Designer Series Paper (DSP)


So to start, you need three squares of cardstock, measuring 3.5" x 3.5".  I used Tranquil Tide, as it goes really nicely with the Natures Poem DSP


Each piece is scored down the diagonal.

Next you take one of the pieces of card, and apply adhesive to it as shown here (I used Liquid Multipurpose Glue).  You only want the adhesive going this far down the diagonal.


Next you adhere the other two pieces of card to this one - watch the direction of the scoring (ask me how I know this!)


Once you've done this, fold each of the left and right pieces in towards the bottom cards' diagonal


I decided to use some magnets to keep the card nicely closed when it is standing up.  I've never worked with magnets before.  There are some tricks for young players!  One is - when you've adhered them with glue, don't expect the magnet to stay in place as you try to check placement - it will immediately stick to it's mate.  The next trick is watch your polarity - I kept accidently sticking down the opposite sides, so they repelled each other rather than closing the card.  And finally - if you put them more in the centre of the closing flap you only need two magnets.  If you put them on the left and right of the flap, you'll need four magnets!  Anyway, I finally had a closure that would work.

I then carefully cut the Nature's Poem paper and adhered it to each part of the card that wasn't where you would write your handwritten note to the recipient of the card.

This is the back side of the card:


Here's the inside of the card.  It's a little hard to see, but the white paper in the middle is where you would write your note.


This next photo is to show you that this card with the 3.5" squares will fit in a standard Stampin' Up! envelope.  I used a Very Vanilla envelope for the picture so it showed against my white background - you have to really look to see it though.


Back to the final outcome:


There you have it - a Pyramid Card, covered with the beautiful Nature's Poem DSP.

If you would like to purchase any of the products I've used to make this card, please click on the pictures below - you'll go to my online store, where you can shop at a time that suits you.

Thank you for stopping by!
Take care,
Andrea

Product List
SHARE:

Saturday 30 June 2018

Giving Animal Outing an Outing

I was so lucky to be given this stamp set at OnStage in April.  This is the first time I inked it up - and I've really enjoyed it!

I was inspired by a card I saw on Pinterest for this creation, however I changed it up a little.  Unfortunately the link wasn't working, so I can't give credit.


I stamped the main card front on Whisper White cardstock.  I used Memento Black Ink, and then coloured with various Blends.  For the giraffe I used both light and dark Daffodil Delight Blends, and both dark and light Crumb cake. For the leaves I used both dark and light Old Olive, and for the frog I used light Daffodil Delight then layered light Old Olive over it.

The sentiment is stamped onto Crushed Curry, framed with Soft Suede Card Stock.  I used the very corner of the Every Day Label Punch to punch the corners.


This picture is a little wrong - let me explain.  The first time I did this, I cut the corners of the Crushed Curry cardstock, then separately cut the Soft Suede cardstock.  When I went to layer the two together, I found that the angles of the cutouts didn't match.  

My solution was to adhere the Crushed Curry (with the corners already punched out) onto the Soft Suede, then I could judge the angles better to cut out the corners.  My Soft Suede was only 3mm wider and longer than the Crushed Curry, as I wanted to have the layer quite close.

Once the sentiment was adhered to the card, I stamped the corner decoration from the set Around the Corner - this is another set I received free during OnStage!

If you live in New Zealand and would like to purchase any of these items (or anything else) from Stampin' Up! please click on a picture below, and you'll be taken straight to my online store.

If you don't already have a demonstrator, I'm very happy to send you a complimentary copy of the current Annual Catalogue - this is only open to those who live in New Zealand.  Email me here with your address details.

Thanks for stopping by!

Product List
SHARE:

Thursday 28 June 2018

Tufted Embossing Folder done three ways

Good evening!  Thank you for stopping by.

Today I decided to put my brand new Tufted Embossing Folder to good use. I had an idea of a different way I could use it, so I did some experimenting.

Here's my first card - the embossing on the Crumb Cake card stock is quite subtle, and I couldn't photograph it very well.  The embossing is over the entire card, but the photo only shows it over the top part.


As you can see, it's very subtle.  In real life, it's kind of like a quilting affect. 

The flower stamp is from the Love What You Do stamp set, stamped in Memento Black Ink.  I then coloured the flowers in using Stampin' Blends.  I cut the flower out using the Stitched Shapes framelits, and the Layered Oval dies.  

The first thing I did was to colour each of the lines of the quilting - to do this I folded the Crumb Cake card stock on each line, then sponged Early Espresso ink on both sides of the line.  I did this over the whole card.  

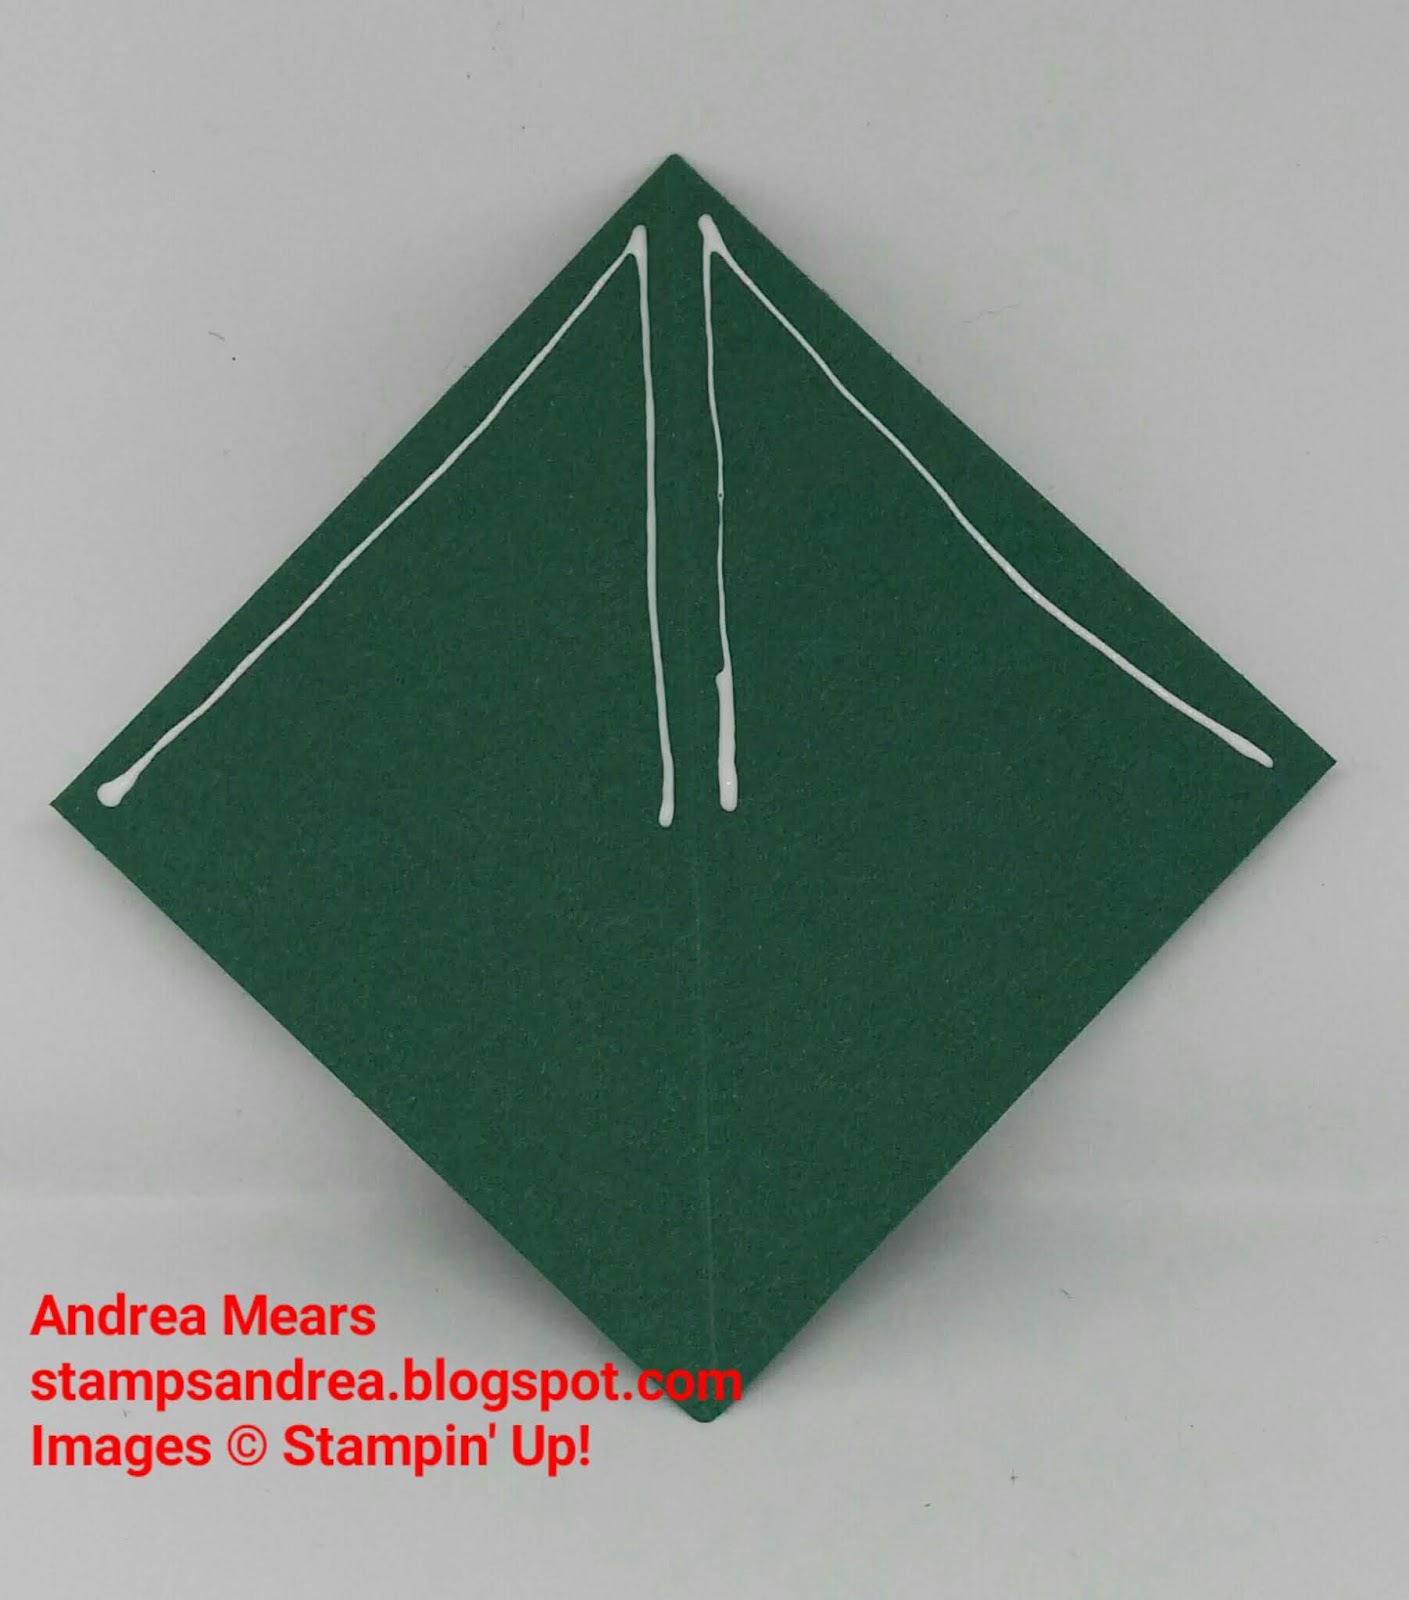
After that I adhered sequins to each of the intersections.


This is the outcome.  I like this look, however because I was quite picky about what colour sequins I wanted, picking those out and then sticking them in place (using the Fine Tip Glue) was a very long process.

So I thought about it again, and tried something a little different.

What if I embossed each intersection with Copper Embossing Folder?  It would be quicker (wouldn't it?) and it might look just as good.

Erm - no!


Ok - let's be honest, it kind of looks like it might have a very uniform case of Chicken Pox!  I didn't have anything like a tiny dauber I could put the Versamark on with (pre the Embossing Powder), so I used a tiny paint brush I found at home. The problem with that (for me) is that the dots then aren't a uniform size or shape.  It also took at least the same amount of time to emboss these than it did to do the sequins.

It perhaps looks slightly better in real life, as you can see the quilting affect of the embossing folder, however I won't be sending this particular card to anyone!

I'm pretty sure I'm not the only crafter to make this sort of mistake - and I really do think I learned from this.  I also still quite like the sequinned card.

I promise to use the tufted folder again, hopefully to better affect!

If you would like a complimentry copy of the current Stampin' Up! Catalogue, please email me here (if you live in New Zealand), and I would love to be your demonstrator.

Clicking on the picutres below will take you to my online store, where you can have a look at all the Stampin' Up! products, and you can shop at whatever hour suits you best (this is only open to those who live in New Zealand)

Take care, and I hope your Friday runs smoothly

Andrea


Product List
SHARE:

Friday 22 June 2018

Any Occasion Card

Hi there, thank you for stopping by!

I watched a video yesterday talking about how to colour with the Blends, and I wanted to put my learnings to practice.

This is the card I made


The cardstock I used is Lemon Lime Twist - I love how fresh and bright it looked.  And it was ideal for my experiment.  The stamp set is Perennial Birthday. The only green Blends I have so far is the Light and Dark Old Olive ones.  They wouldn't really go too well with the Lemon Lime Twist, but first I coloured the leaves with the Light Daffodil Delight, then went over with the Light Old Olive.  It was still a little dark for me, so I went over it again with the Light Daffodil Delight.  I think the colour of the main leaves is amazing!

I used the Light Daffodil Delight again under the Light Pumpkin Pie that is on some of the flowers - I really like the more subtle tone that it made.

The other thing I did with these flowers, which you can't really see properly on the card, but which I think makes the colours pop a little more, is I went around each of the elements with Light Smoky Slate, and then lifted some of the colour with the Colour Lifter.  

Last time I showed my husband a card I'd made, he commented 'Why do you always put writing on your cards?'  And so, especially for Andrew, I made a card with no sentiment - so it can be used however the giver wants to use it.

If you live in New Zealand, and you would like to purchase any of the products I've used to make this card, please click on the pictures below and you'll go straight to my online store.

If you don't already have a demonstrator, I'd love to be your demonstrator!  Contact me here and I'll send you a complimentary copy of the new Stampin' Up! catalogue.

If you'd like to join my team of Absolutely Awesome Crafters, and be a demonstrator, contact me here and we can talk!

Product List
SHARE:
MINIMAL BLOGGER TEMPLATES BY pipdig